How to Prep Smoothie Packs for Your Busiest Weeks
3 November 2026
There is a particular kind of morning where everything goes wrong at once. You wake up late, the dog needs to go out, a meeting starts in twenty minutes, and the last thing you can afford is to stand at the counter chopping kale and hunting for the frozen mango you swear you bought. That morning is exactly why smoothie packs exist. The idea is simple: portion out your smoothie ingredients in advance, freeze them, and on the day itself dump one bag into a blender with liquid. But the difference between smoothie packs that genuinely save you time and ones that turn into a freezer full of frostbitten regret comes down to how you build them. That is what this guide covers, in detail.
What a Smoothie Pack Actually Is, and What It Is Not
A smoothie pack is a pre-portioned bag of solid smoothie ingredients stored in the freezer, designed so that one bag equals one smoothie. That is the whole concept. The liquid and anything you would add fresh, such as yogurt, nut butter, or a squeeze of citrus, usually stays out of the bag and goes in at blending time.The common misconception is that you can throw anything into a bag and freeze it. You can, technically. But texture, flavor, and blendability all depend on ratios and on which ingredients survive freezing well. A pack that is 80 percent spinach and 20 percent banana will blend into a bitter, fibrous sludge. A pack with too much watery fruit and no fat or fiber will separate within minutes of blending. The packs worth making are the ones built with the same care you would give a smoothie you were making fresh. The only thing you are removing is the assembly, not the thinking.
Why Prep Ahead at All: The Real Benefits and the Honest Trade-offs
The benefits are straightforward. You cut decision fatigue. You control portions, which matters if you are watching sugar intake or trying to get more vegetables into your day. You reduce waste, because fruit that is about to turn can be chopped and frozen instead of thrown out. And you cut morning time to roughly the length of a blend cycle.The trade-offs are worth naming honestly. Freezing changes texture. Bananas turn softer and sweeter, which most people like, but berries release more water when thawed, and some greens become limp and lose a bit of structure. You also lose flexibility. A pack commits you to a flavor combination days or weeks in advance, which is fine if you rotate a handful of recipes you actually like and frustrating if you improvise every day. And there is an upfront cost in time, usually 45 to 90 minutes for a week or two of packs.
The honest verdict: smoothie packs work best for people who already like smoothies and want to remove friction, not for people hoping the packs will make them like smoothies. If you do not enjoy drinking them fresh, a freezer bag will not change that.
Choosing Ingredients That Survive the Freezer
This is where most smoothie packs succeed or fail. Not every ingredient freezes equally well, and the ones that do not will drag down the whole bag.Fruits that freeze beautifully
Bananas, mango, pineapple, peaches, and cherries all freeze well and blend into a creamy texture. Bananas are the workhorse here because they add natural sweetness and body. Slice them before freezing; whole frozen bananas are hard to blend and can strain a weaker motor. Berries freeze well too, but they are watery, so use them as a flavor component rather than the entire base.Fruits that disappoint after freezing
Citrus segments turn mushy and lose their bright character. Apples and pears brown and soften in ways that read as mealy in a smoothie. Melon, especially watermelon, becomes watery and bland. You can still use these, but add them fresh at blending time rather than freezing them in the pack.Greens: handle with care
Spinach and kale freeze reasonably well if blanched first, though many people skip blanching and accept a slightly rougher texture. The bigger issue is volume. Greens compress when frozen, so a pack that looks generous in the bag may blend into something much smaller than expected. A useful rule of thumb is one to two generous handfuls of greens per pack, paired with enough sweet fruit to balance the bitterness. Cucumber and celery do not freeze well and turn watery; keep those fresh.The ingredients that make or break texture
Frozen packs need something to create creaminess. That usually means banana, avocado, or a starchy fruit like mango. Avocado freezes well if you cube it and toss it in lemon juice first, and it adds a richness that fruit alone cannot. If you want protein, add it at blending time rather than in the pack. Greek yogurt, protein powder, silken tofu, and nut butters all mix in better fresh, and powders can clump when frozen into a block.Seeds, spices, and add-ins
Chia seeds, flax, hemp hearts, oats, cinnamon, ginger, and cacao all freeze fine in small quantities. Oats are worth mentioning because a couple of tablespoons add body and a subtle creaminess without changing the flavor much. Just be aware that oats absorb liquid, so a pack with oats will need a little more liquid at blending time.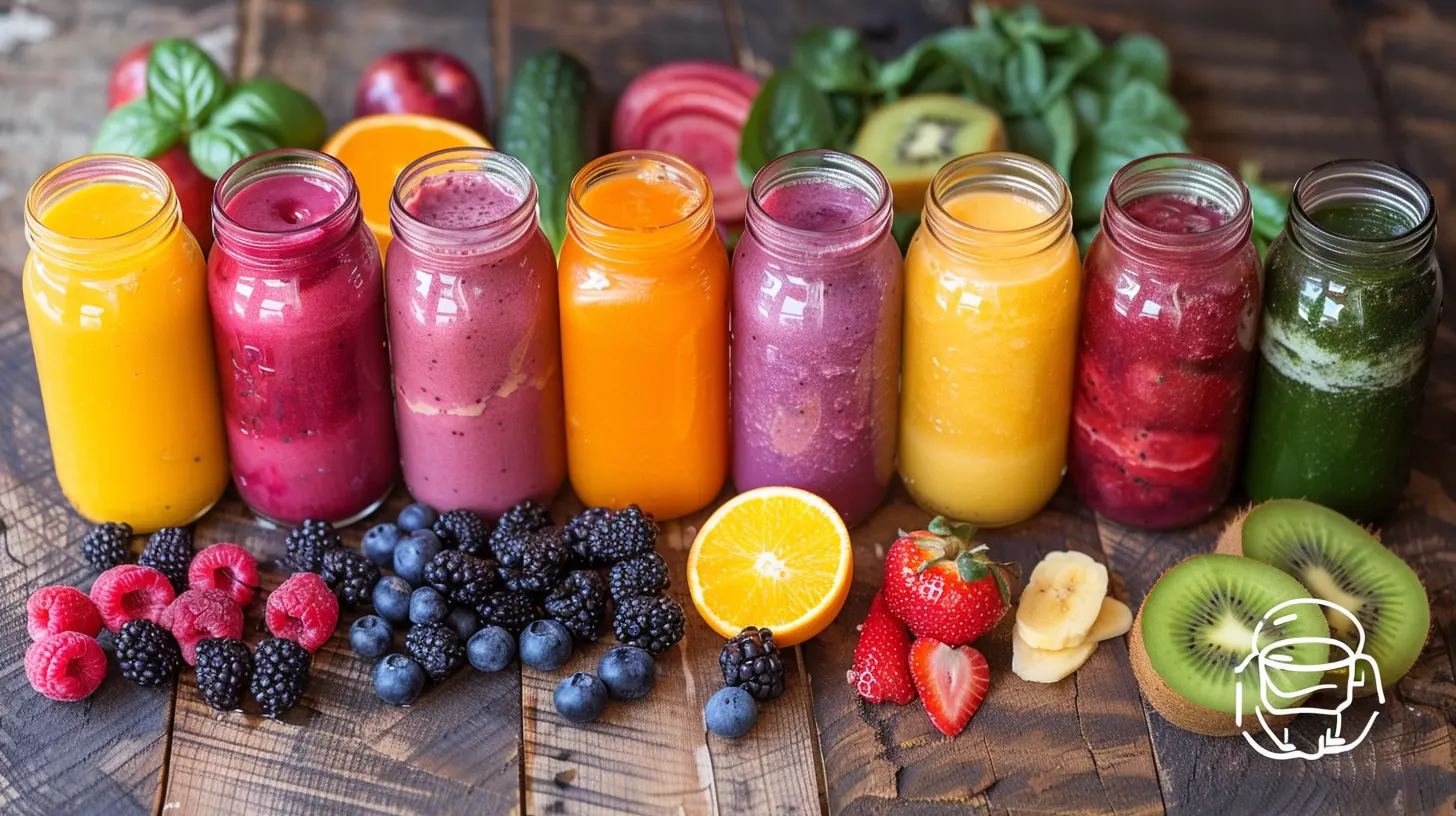
Building a Pack: Ratios That Actually Work
The most useful mental model is a simple ratio: roughly two parts fruit to one part greens, plus a small amount of a texture ingredient and optional add-ins. That is not a rigid formula, but it prevents the two most common failures: packs that are too green and packs that are too watery.A practical example: one sliced banana, a cup of frozen mango, a large handful of spinach, a tablespoon of chia seeds, and a pinch of cinnamon. That is a balanced pack. At blending time you add about a cup of liquid, maybe half a cup of yogurt, and blend.
Compare that to a pack of just berries and spinach. It will blend, but it will be thin, tart, and prone to separating. The difference is not the ingredients themselves but the balance between sweet, creamy, fibrous, and watery components.
Choosing Your Containers: Bags, Jars, and the Trade-offs
The default is a freezer-safe zip bag, and for good reason. Bags compress, stack flat, and take up little space. The downside is plastic waste and the risk of freezer burn if you do not press out the air. Reusable silicone bags solve the waste problem but cost more and can retain odors over time.Glass jars or rigid containers are the other common choice. They stack neatly, are easy to label, and do not crush delicate ingredients. But they take up more freezer space, and you must leave headroom because contents expand as they freeze. A jar filled to the brim will crack.
There is also the option of freezing in a muffin tin first, then transferring the frozen pucks into a larger bag. This is useful if you want to mix and match portions later, though it adds a step and is more effort than most people want on a Sunday night.
My recommendation for most people: start with freezer bags and press them flat. If you make packs regularly and want to reduce plastic, move to reusable silicone bags once the habit sticks. Do not buy specialty containers before you know you will keep doing this.
The Step-by-Step Process
Step 1: Plan your rotation, not your recipes
Do not plan seven different smoothies. Plan three or four you know you like, and repeat them. Variety sounds appealing but creates decision fatigue at blending time, which defeats the purpose. A rotation of a green smoothie, a berry smoothie, a tropical smoothie, and a chocolate banana smoothie covers most moods.Step 2: Shop and prep in one session
Wash and dry greens thoroughly. Dry greens matter because excess water turns into ice crystals in the freezer and makes the pack clump. Chop fruit into blendable pieces, roughly one inch or smaller. Slice bananas before freezing; this is the single most common prep mistake.Step 3: Assemble with a scale or measuring cups
Eyeballing works once you have made a few packs, but for the first batch, measure. Consistent portions mean consistent texture, and it makes it easy to adjust later if a recipe comes out too thick or too thin. Write the recipe down, including the liquid amount, so you are not guessing at blending time.Step 4: Remove air and freeze flat
Press bags flat to expel air, seal, and lay them flat in the freezer until frozen solid, then stack them upright or file them like books. Flat freezing speeds the process and prevents ingredients from clumping into a single block.Step 5: Label with the date and the liquid amount
A strip of tape and a marker is enough. Include the date and a short note like "1 cup oat milk." This small habit saves you from the guessing game on a rushed morning.Storage Times and Food Safety Realities
Frozen smoothie packs are generally best used within one to three months. They remain safe indefinitely at zero degrees Fahrenheit, but quality declines. Greens get icier, fruit dries out, and flavors fade. The one-to-three-month window is about eating quality, not safety.A few practical notes. Freezer burn is the main enemy, and it comes from air exposure, so press bags flat and keep them sealed. Do not refreeze a pack that has thawed; blend it or discard it. And if you include dairy or yogurt in the pack itself, which I generally advise against, treat it like any frozen dairy product and use it within a month.
Blending Day: What to Add and What to Avoid
The pack is only half the smoothie. The liquid decides whether you get a drinkable smoothie or a spoonable paste. Start with about three quarters of a cup to one cup of liquid per pack and adjust. Too little liquid strains the blender and leaves chunks; too much gives you a thin, watery drink.Good liquid choices include water, milk, oat milk, coconut water, or brewed and cooled tea. If you want creaminess, add yogurt, kefir, or a spoon of nut butter at blending time. If you want sweetness, add a date or a little honey rather than more fruit, which keeps the pack ratios intact.
Blend order matters more than most people realize. Put liquid in first, then the pack contents, then any fresh additions. This protects the blades and helps the blender pull everything down. If your blender struggles with frozen blocks, let the pack sit at room temperature for five to ten minutes, or break it up slightly before blending.
Common Mistakes and How to Avoid Them
The first mistake is overpacking greens. A pack that looks mostly green will taste mostly green. Balance with sweet fruit.The second is freezing whole bananas. They are hard to blend and can damage cheaper blenders. Slice first.
The third is adding protein powder to the pack. It clumps, absorbs moisture, and changes texture unpredictably. Add it fresh.
The fourth is using watery fruit as the base. Watermelon, cucumber, and citrus do not belong in the freezer portion.
The fifth is skipping the label. You will forget what is in the bag and how much liquid it needs.
The sixth is making too many packs at once. Start with five to seven. If you make twenty and discover you do not like the recipe, you have wasted food and freezer space.
Adapting Packs to Different Goals
If your goal is more vegetables, lean on spinach, kale, and cauliflower rice, which freezes well and blends invisibly into fruit-heavy packs. If your goal is protein, build the pack around banana and add Greek yogurt or cottage cheese at blending time; both blend smoothly and add substantial protein. If your goal is lower sugar, reduce banana and mango and lean on berries, which are lower in sugar and higher in fiber. If your goal is satiety, add oats, chia, or flax to the pack; the fiber slows digestion and keeps you full longer.Each of these adjustments changes texture, so expect to tweak liquid amounts. That is normal and part of the process.
A Sample Week of Packs
To make this concrete, here is a rotation that works well for most people.Monday: banana, mango, spinach, chia.
Tuesday: mixed berries, half a banana, kale, flax.
Wednesday: pineapple, banana, cauliflower rice, ginger.
Thursday: peach, banana, oats, cinnamon.
Friday: cacao, banana, avocado, spinach.
Each pack takes about two minutes to assemble once your ingredients are prepped. The liquid amount for each is roughly one cup, adjusted to taste. This rotation covers fruit, greens, fiber, and healthy fat across the week without repeating the same flavor twice in a row.
Final Thoughts
Smoothie packs are not magic. They are a small system that removes friction from a habit you already want to keep. The people who get the most from them are the ones who treat the prep session as a genuine investment, build packs with balanced ratios, and accept that the first batch is a learning experience. Start with five packs, one rotation, and a marker for labeling. Adjust from there. The goal is not a perfect freezer; it is a Tuesday morning that goes a little more smoothly than it otherwise would.
all images in this post were generated using AI tools
Category:
Healthy SmoothiesAuthor:

Madeline Howard