How to Meal Prep Smoothies for the Entire Week
9 October 2026
Smoothies have a reputation problem. Many people think of them as a rushed morning gamble: dump whatever fruit is left in the fridge into a blender, hope the texture works out, and drink it standing over the sink. That approach produces inconsistent results, wastes produce, and rarely survives past Wednesday. Meal prepping smoothies solves this, but only if you understand what actually happens to blended fruit, leafy greens, and liquids over time.
This guide covers the real mechanics behind weekly smoothie prep. You will learn which methods hold up for five days, which ones fail, how to build a formula instead of following recipes, and how to avoid the mistakes that turn a good intention into a freezer full of forgotten bricks.
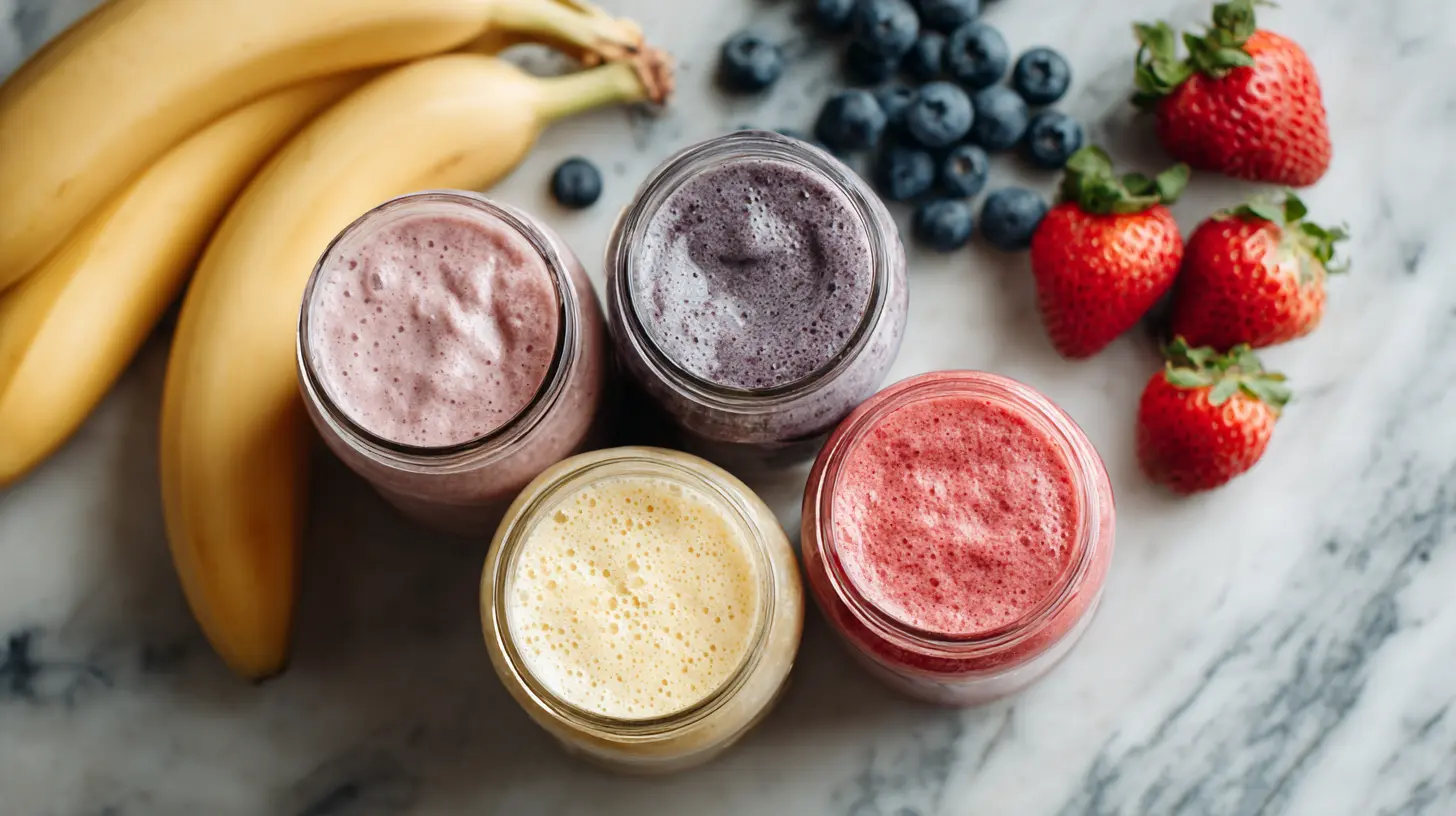
Why Smoothie Prep Is Different From Other Meal Prep
Most meal prep advice assumes you are cooking. You roast vegetables, portion rice, and assemble containers. Smoothies do not follow that logic because the final product is a blended, oxygen-exposed mixture of fragile ingredients. Once you blend a smoothie, you start a clock. Enzymes go to work, oxidation begins, and separation happens within hours.This is why the most common advice, "just blend five smoothies on Sunday and line them up in the fridge," produces disappointing results. By Tuesday, the color has dulled, the texture has turned gritty or watery, and the flavor has shifted toward something flat and slightly bitter.
The better approach separates two very different tasks:
1. Assembly, which can be done days or weeks ahead.
2. Blending, which should happen as close to drinking as possible.
Almost everything in this article flows from that single distinction. Once you accept it, weekly smoothie prep becomes simple, reliable, and genuinely time-saving.
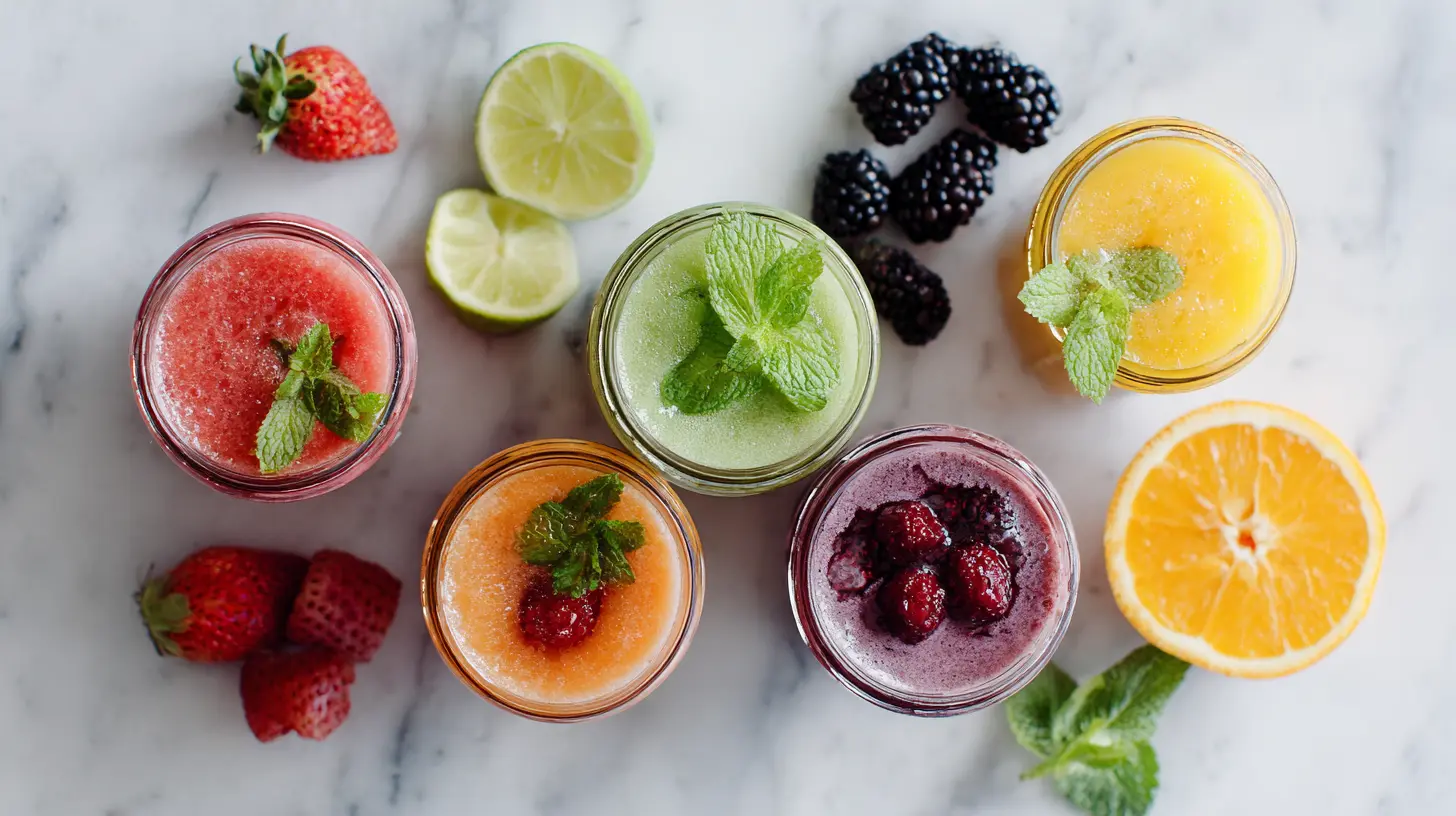
The Core Formula for Any Smoothie
Before talking about prep logistics, you need a formula. Recipes are useful for inspiration, but a formula lets you adapt to what you have, adjust for your goals, and prep in bulk without measuring fifteen different ingredients.A balanced smoothie generally contains five components:
- Liquid base: water, milk, plant milk, coconut water, cold brew, or kefir. This determines thickness and much of the flavor.
- Leafy greens or vegetables: spinach, kale, romaine, cucumber, zucchini, or cooked beet. These add micronutrients and fiber.
- Fruit: fresh or frozen. This provides sweetness, acidity, and body.
- Creamy or functional element: yogurt, cottage cheese, nut butter, avocado, chia, flax, oats, or silken tofu. This affects texture and satiety.
- Optional boosters: protein powder, cocoa, spices, vanilla, dates, or a pinch of salt.
The ratio matters more than the specific ingredients. A workable starting point is roughly one cup of liquid, one to two cups of leafy greens, one to one and a half cups of fruit, and two to four tablespoons of the creamy element. Adjust from there based on how thick you like it.
Why does this matter for prep? Because a formula lets you pre-portion dry and frozen components into identical bags or jars, which is faster and less error-prone than following a different recipe each day. It also makes substitutions obvious. If you are out of banana, you know it belongs to the fruit category, not the creamy category, and you can swap accordingly.
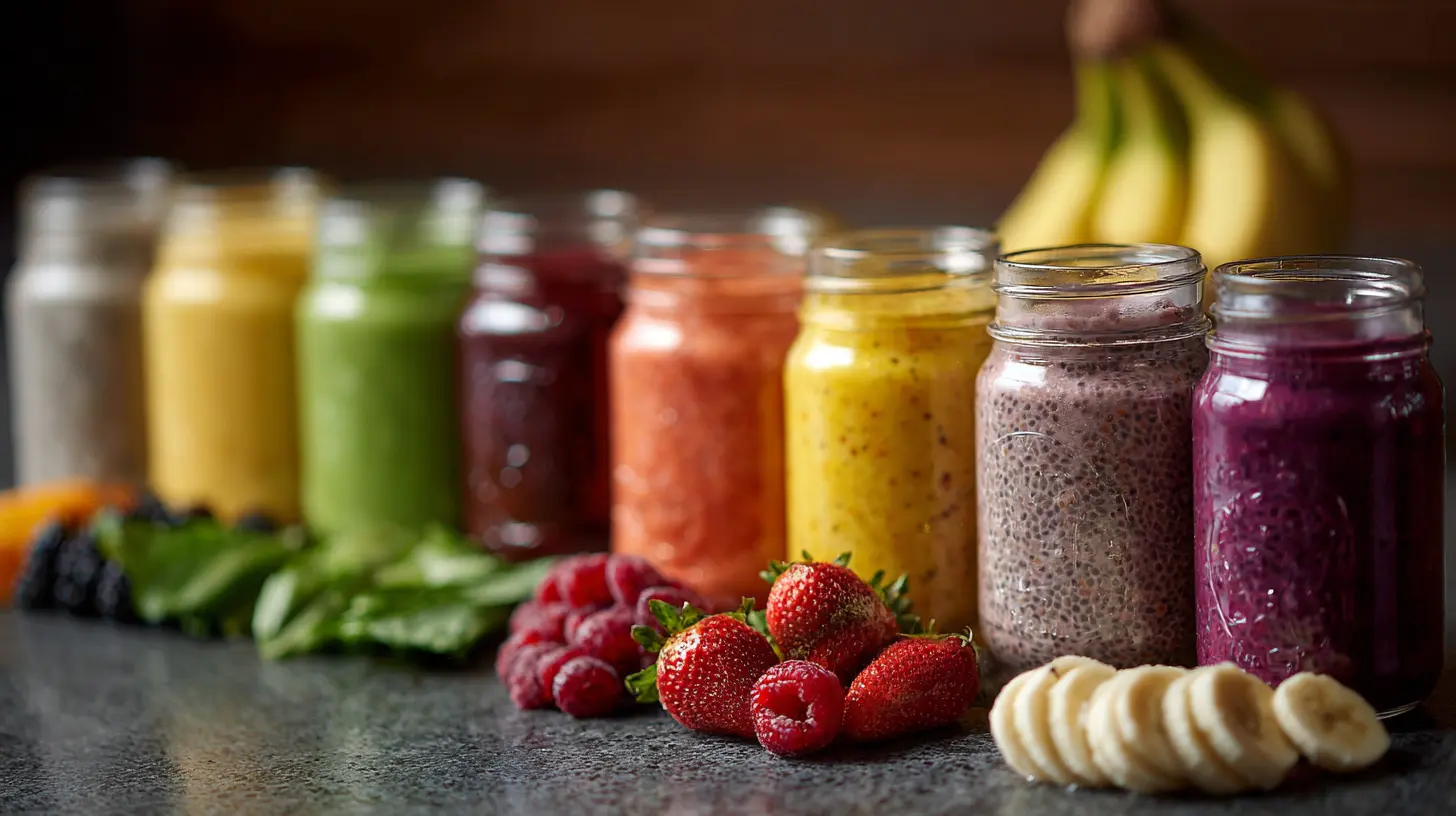
Method One: Freezer Bags (The Most Reliable Approach)
Freezing pre-portioned smoothie packs is the method most likely to survive a full week, and it works for months, not days. Here is how it functions in practice.What Goes in the Bag
Place all the solid, frozen-friendly ingredients into a freezer bag or reusable container:- Chopped fruit
- Leafy greens
- Vegetables
- Chia, flax, or oats
- Spices and dry boosters
Leave out anything liquid, anything dairy-based, and anything you would not want frozen solid, such as fresh citrus segments, which turn mushy and bitter after freezing.
Why It Works
Freezing halts enzymatic activity and dramatically slows oxidation. The fruit and greens retain their color and most of their nutritional profile far longer than they would in the refrigerator. When you are ready to drink, you empty the bag into a blender, add liquid and any fresh creamy element, and blend. Because the fruit is frozen, you get a thick, cold, milkshake-like texture without adding ice, which is a significant advantage. Ice dilutes flavor. Frozen fruit does not.Trade-Offs
Freezer bags consume plastic unless you use reusable silicone bags or containers. Leafy greens frozen in large pieces can be bulky, so chopping them first saves space. Some people find that frozen spinach develops a slightly stronger, more mineral taste than fresh, which is usually masked by fruit but noticeable in very green, low-sweetness blends.Best For
Anyone who wants maximum shelf life, minimal daily effort, and consistent texture. This is the default recommendation for most people.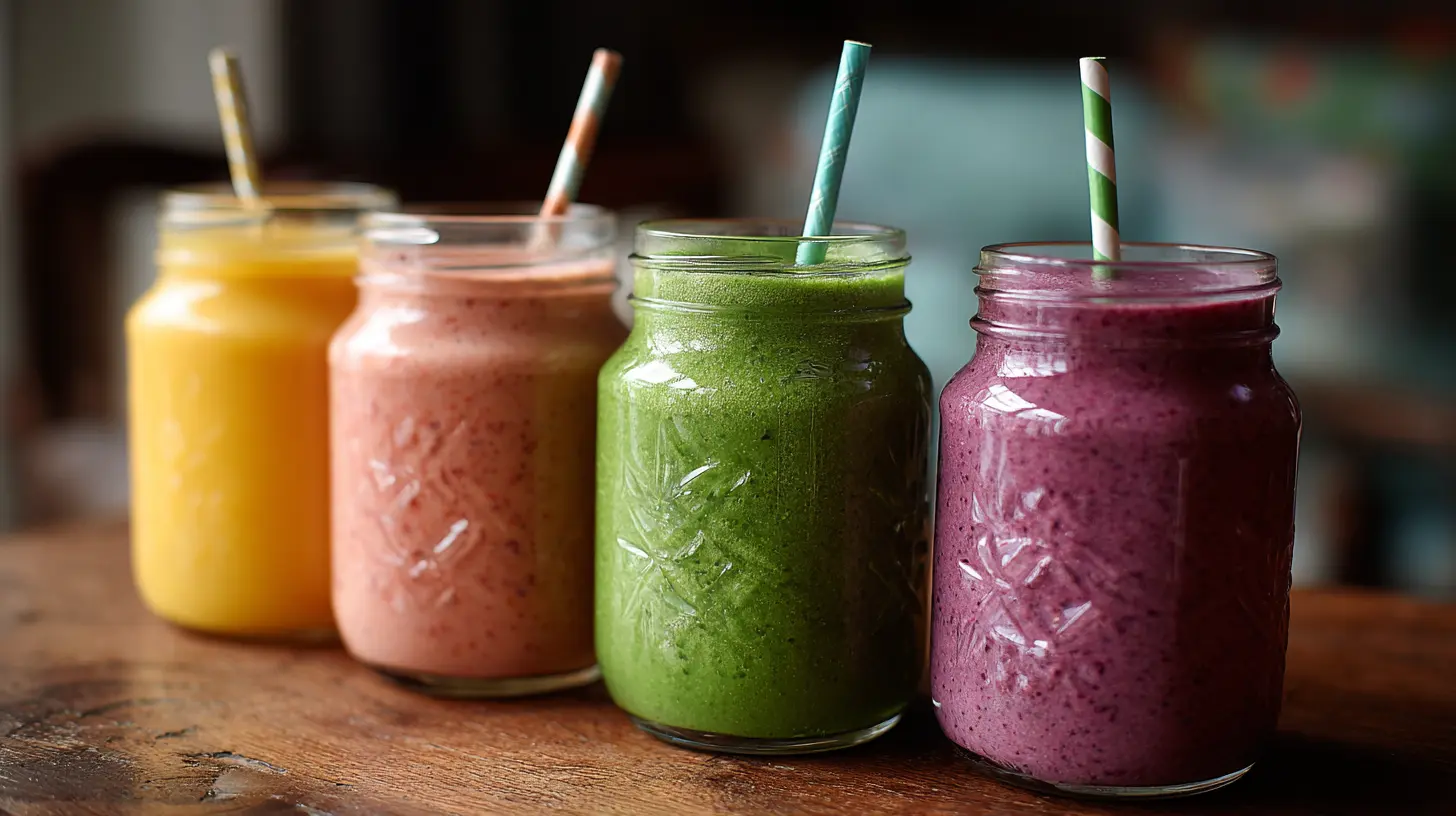
Method Two: Refrigerator Jars (Fast, But With a Short Window)
If you prefer not to freeze, you can portion dry and fresh ingredients into jars and refrigerate them. This works, but the window is much shorter.What Holds Up
- Dense fruits like berries, mango, and pineapple- Hardy greens like kale and romaine
- Cucumber and zucchini
- Nuts, seeds, and oats
What Does Not
- Sliced banana, which browns within a day- Apple and pear, which oxidize quickly
- Avocado, which discolors
- Cut citrus, which dries out and turns bitter
Why the Window Is Short
Refrigeration slows oxidation but does not stop it. Cut surfaces react with oxygen, and enzymes continue working at a reduced rate. After two or three days, flavors flatten and textures soften. This is not dangerous, but it is unappealing.Best For
People who will drink their smoothies within two to three days and prefer fresh fruit texture. If your week is unpredictable, this method will likely waste food.Method Three: Blended and Stored (Convenient but Compromised)
Blending five smoothies on Sunday and storing them in airtight bottles is the most convenient option on paper. In practice, it is the weakest of the three for quality.What Actually Happens
Within hours, the mixture separates. Solids sink, liquid rises. By day two, the color dulls noticeably, especially in green smoothies, because oxidation and enzyme activity degrade chlorophyll and pigments. By day three, many blends taste noticeably different from fresh.When It Still Makes Sense
If your priority is grabbing a bottle and walking out the door, and you are willing to accept some quality loss, this method works. A few practices reduce the damage:- Fill containers to the very top to minimize headspace and oxygen exposure.
- Use airtight glass rather than plastic, since glass is less permeable to oxygen.
- Add a squeeze of lemon or lime juice. The acidity slows some enzymatic browning.
- Shake vigorously before drinking, since separation is unavoidable.
- Keep the container as cold as possible, ideally at the back of the fridge, not in the door.
Honest Assessment
Blended storage is a reasonable compromise for two to three days. Beyond that, the quality drop becomes hard to ignore. If you want a full week of good smoothies, freezing the components and blending fresh is the superior strategy.
Understanding Oxidation and Enzymatic Browning
This is the science that explains most smoothie prep failures, so it deserves a clear explanation.When you cut or blend fruit and vegetables, you rupture cell walls and expose internal compounds to oxygen. Two processes follow. First, direct oxidation, where oxygen reacts with pigments like chlorophyll and anthocyanins, dulling color and altering flavor. Second, enzymatic browning, where enzymes such as polyphenol oxidase react with phenolic compounds. This is what turns a sliced apple brown and what gives an old green smoothie that dull olive tint.
Cold slows both processes. Acid slows enzymatic browning. Blending accelerates both because it maximizes surface area and incorporates air.
This is why the freezer method wins. Freezing essentially pauses the clock. The ingredients are not blended until you are ready to drink, so the damage never has time to accumulate.
Building a Week of Smoothie Packs: A Practical Walkthrough
Here is a concrete example of how a week might look, using the formula rather than fixed recipes.Sunday Prep Session (About 30 to 40 Minutes)
1. Wash and dry all produce.2. Chop greens roughly. Remove tough stems from kale.
3. Portion fruit into five bags or containers.
4. Add dry boosters to each bag.
5. Label each bag with the date and the liquid and creamy element you plan to add.
A Sample Week
- Monday: Spinach, frozen mango, pineapple, chia. Add coconut water and Greek yogurt.- Tuesday: Kale, frozen berries, half a banana, oats. Add almond milk and peanut butter.
- Wednesday: Romaine, cucumber, frozen peach, flax. Add water and cottage cheese.
- Thursday: Spinach, frozen cherries, cocoa, oats. Add milk and a date.
- Friday: Kale, frozen banana, frozen berries, hemp seeds. Add kefir and a spoon of almond butter.
Notice that each day follows the same structure but varies in flavor. This keeps the process interesting without adding complexity to the prep.
Why This Works
You are doing the tedious work once, chopping and portioning, while leaving the fast work, blending, for the morning. The result is a smoothie that takes under two minutes to make and tastes like it was made from scratch, because it essentially was.
Common Mistakes and How to Avoid Them
Overloading the Blender
Packing too much into a blender, especially with frozen ingredients, strains the motor and leaves chunks. Add liquid first, then solids, and blend in stages if needed. A high-powered blender handles more, but even then, leaving room for circulation matters.Using Too Much Liquid
A common error is adding a full cup of liquid to fruit that already contains a lot of water, like melon or berries. The result is thin and unsatisfying. Start with less liquid than you think you need. You can always add more, but you cannot remove it.Ignoring the Sweetness-Acidity Balance
Fruit alone does not always deliver a balanced flavor. A squeeze of lime, a spoon of yogurt, or a pinch of salt can transform a flat smoothie into something bright. Salt in particular reduces perceived bitterness from greens, which is why a tiny pinch works wonders in green blends.Forgetting Protein and Fat
A smoothie made only from fruit and juice spikes blood sugar and leaves you hungry an hour later. Adding protein and fat, from yogurt, nut butter, seeds, or tofu, slows digestion and improves satiety. This is one of the most practical changes you can make.Freezing Everything Without Thinking
Not all ingredients freeze well. Bananas become mushy but work fine in smoothies. Citrus does not. Avocado freezes acceptably if you plan to blend it, but it discolors if merely refrigerated. Know which category each ingredient falls into before you prep.Pre-Blending With Dairy
Dairy can separate and develop an off texture when stored blended. If you must pre-blend, use plant milk or water and add dairy fresh.Nutritional Considerations Worth Knowing
Fiber Survives Blending
A persistent myth claims that blending destroys fiber. It does not. Blending breaks fiber into smaller pieces, which may slightly affect how quickly sugars are absorbed, but the fiber itself remains present. Whole fruit is still marginally better for blood sugar response because chewing slows intake, but a blended smoothie is far from fiber-free.Oxidation Reduces Some Nutrients
Vitamin C and certain polyphenols are sensitive to oxygen and light. The longer a blended smoothie sits, the more these decline. This is another argument for blending fresh rather than storing blended for days.Frozen Produce Is Not Inferior
In many cases, frozen fruit and vegetables are nutritionally comparable to fresh, because they are frozen shortly after harvest. For smoothies, frozen produce often performs better because it delivers a cold, thick texture without ice.Watch the Sugar Load
A smoothie can easily contain the sugar of three or four pieces of fruit in a single glass. That is not inherently bad, but it matters if you are managing blood sugar. Pairing fruit with protein, fat, and fiber-rich vegetables keeps the overall load more moderate.
Equipment That Genuinely Helps
You do not need much, but a few items make weekly prep noticeably easier.- A reliable blender: This is the one place where quality shows. A weak blender struggles with frozen greens and leaves fibrous bits.
- Reusable freezer bags or containers: Silicone bags or stackable containers save space and reduce waste.
- A wide-mouth funnel: Useful if you portion into bottles.
- A small kitchen scale: Optional, but helpful if you are tracking portions or macros.
- Labels: Date your packs. Even frozen food benefits from a rotation system.
Adapting the System to Your Goals
For Weight Management
Emphasize vegetables, lean protein, and fiber. Keep fruit moderate and avoid juice as a base. A smoothie can be a full meal or a snack, but the calorie difference between the two is significant.For Athletes
Increase protein and carbohydrates. Add oats, banana, and a quality protein source. Timing matters here, so blending fresh right after training is usually preferable to drinking a stored blend.For Busy Parents
Freezer packs shine here. Children can add their own liquid and press blend with supervision. Portion sizes can be smaller and sweeter, with hidden vegetables like spinach or zucchini.For People With Sensitive Digestion
Some find cold smoothies uncomfortable, especially in the morning. Letting the blend sit for ten minutes or using room-temperature liquid can help. High-fiber ingredients like flax and chia may need to be introduced gradually.
Troubleshooting Texture and Flavor
Too thick: Add liquid in small increments, one tablespoon at a time.Too thin: Add frozen fruit, ice, oats, or a spoon of chia and let it sit for a few minutes.
Too bitter: Add a pinch of salt, a date, or half a banana. Bitterness usually comes from greens, especially kale and mature spinach.
Too sweet: Add plain yogurt, a squeeze of lemon, or more greens.
Gritty: Your blender is struggling, or you added seeds that need more time. Blend longer, or grind flax and chia first.
Separation after storage: Shake well. This is normal and not a sign of spoilage.
Food Safety Basics
Smoothies are low-risk, but a few points are worth respecting.- Keep perishable ingredients cold throughout prep.
- Do not leave a blended smoothie at room temperature for more than two hours.
- Refrigerate blended smoothies promptly and drink within three days.
- Frozen packs keep well for two to three months, though quality is best within the first month.
- If a stored smoothie smells fermented or has visible mold, discard it.
A Realistic Weekly Routine
Here is what a sustainable routine looks like for most people.- Weekend: Shop, wash, chop, and portion five to seven freezer packs.
- Weeknights: Move the next day's pack from the freezer to the fridge if you prefer a softer blend.
- Mornings: Empty the pack into the blender, add liquid and creamy element, blend for 45 to 60 seconds, and drink.
Total morning time: under two minutes. Total weekly prep time: about 30 to 40 minutes. That is the entire system.
Final Thoughts
The best smoothie prep method is the one that matches your tolerance for compromise. If you want maximum quality, freeze the components and blend fresh. If you want maximum convenience and can accept some decline, blend and store for two to three days. If you want a middle path, portion fresh ingredients into jars and use them within 48 hours.What matters most is choosing a method deliberately rather than defaulting to the most convenient option and then wondering why your smoothies taste flat by midweek. Understand the trade-offs, build around a formula instead of recipes, and let the freezer do the heavy lifting. Do that, and a week of good smoothies stops being a chore and becomes a habit that actually holds.
all images in this post were generated using AI tools
Category:
Healthy SmoothiesAuthor:

Madeline Howard