DIY Face Masks: At-Home Recipes Your Skin Will Love
7 May 2026
Who doesn’t love a good self-care session? Nothing feels better than pampering your skin with a refreshing face mask after a long day! But here’s the thing—store-bought masks can be pricey and filled with ingredients you can’t even pronounce. That’s where DIY face masks come in.
The best part? You probably have everything you need right in your kitchen. So, let’s get into these easy, all-natural face mask recipes that will leave your skin feeling soft, hydrated, and glowing! 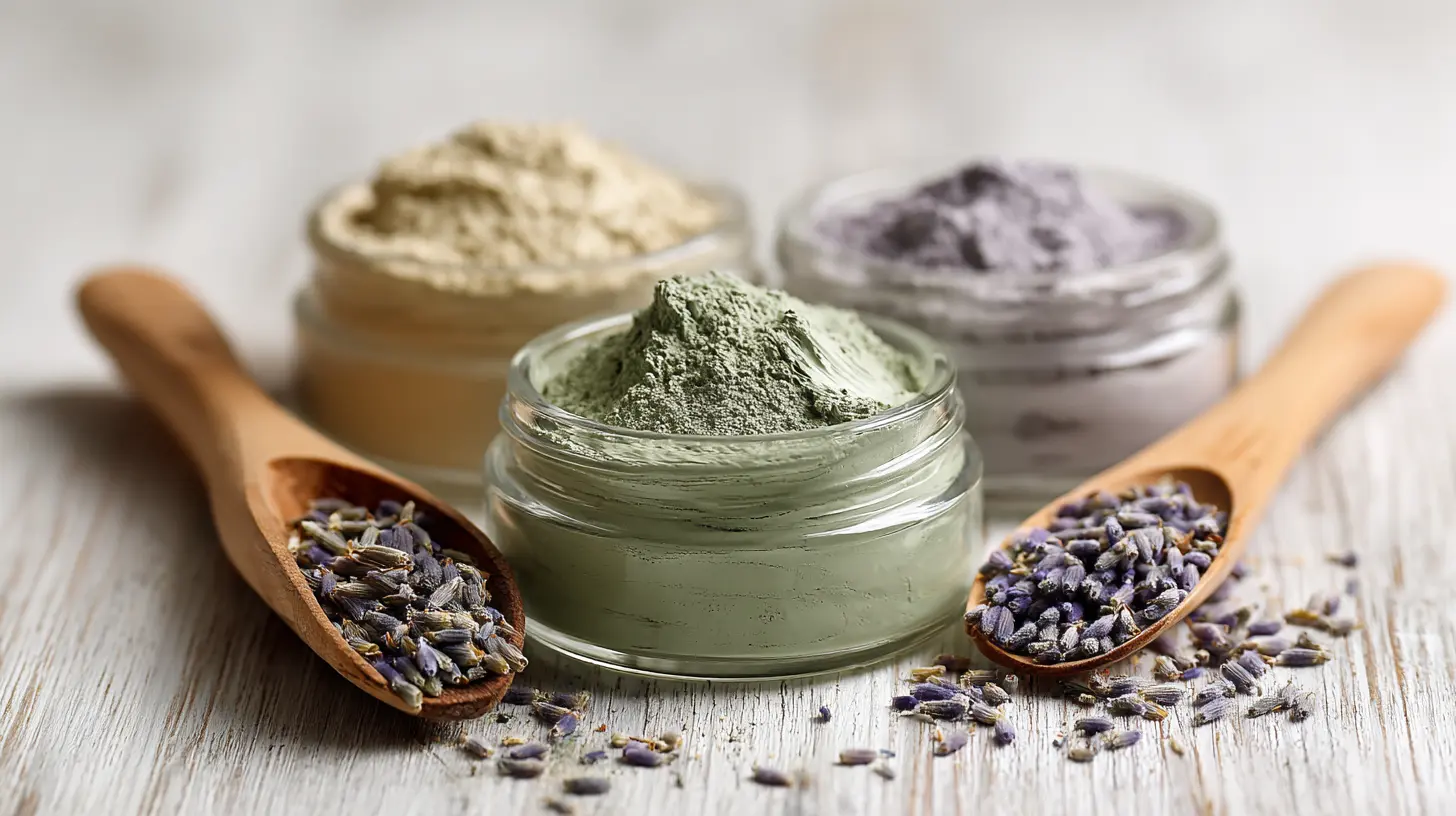
Why DIY Face Masks?
Before we jump into the recipes, let’s talk about why DIY face masks are such a game-changer.✅ All-Natural Ingredients – No harsh chemicals or artificial fragrances; just pure, skin-loving goodness.
✅ Budget-Friendly – Most of these ingredients are pantry staples, which means no unnecessary spending.
✅ Customizable – You control what goes into your mask, making it easier to target your skin’s specific needs.
✅ Eco-Friendly – Say goodbye to disposable packaging and unnecessary waste!
Now that you're convinced DIY is the way to go, let’s get to the fun part—the recipes! 
1. Hydrating Honey & Avocado Mask
Best for: Dry or dehydrated skinIngredients:
- ½ ripe avocado- 1 tablespoon raw honey
- 1 teaspoon yogurt (optional, for extra hydration)
Why It Works:
Avocado is loaded with healthy fats and vitamins that deeply nourish parched skin. Honey, a natural humectant, locks in moisture and fights bacteria. Yogurt contains lactic acid that gently exfoliates for a smoother complexion.Directions:
1. Mash the avocado until smooth.2. Mix in honey and yogurt until you get a creamy consistency.
3. Apply to your face and leave it on for 15-20 minutes.
4. Rinse with lukewarm water.
Bonus Tip:
For an extra cooling effect, pop your mask in the fridge for 10 minutes before applying it!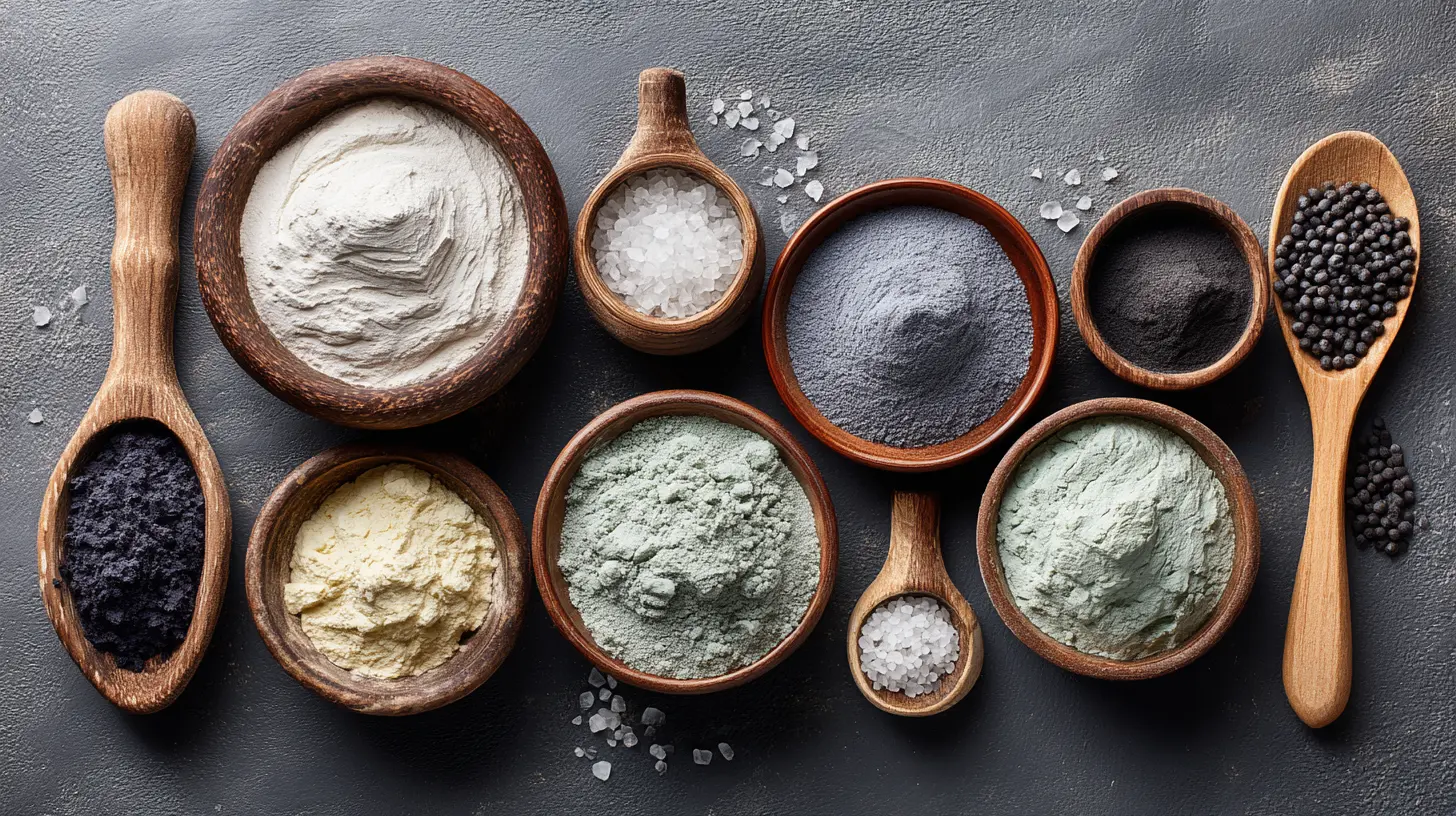
2. Acne-Fighting Turmeric & Yogurt Mask
Best for: Acne-prone or irritated skinIngredients:
- 1 tablespoon plain yogurt- ½ teaspoon turmeric powder
- ½ teaspoon honey
Why It Works:
Turmeric has powerful anti-inflammatory properties that calm redness and breakouts. Yogurt contains probiotics that balance skin bacteria, while honey fights acne-causing germs.Directions:
1. Mix all ingredients well in a small bowl.2. Apply evenly to the face, avoiding the eye area.
3. Let it sit for 10-15 minutes.
4. Rinse thoroughly (turmeric may stain, so use gentle circular motions).
Bonus Tip:
If your skin is particularly sensitive, reduce the amount of turmeric to avoid staining or irritation.
3. Brightening Oatmeal & Banana Mask
Best for: Dull or uneven skin toneIngredients:
- ½ ripe banana- 1 tablespoon ground oats
- 1 teaspoon lemon juice
Why It Works:
Bananas are rich in potassium and vitamins that brighten the skin. Oats soothe irritation and gently exfoliate, while lemon juice (packed with vitamin C) helps even out skin tone.Directions:
1. Mash the banana into a smooth paste.2. Stir in the oats and lemon juice.
3. Apply to clean skin and leave on for 15 minutes.
4. Rinse with warm water and pat dry.
Bonus Tip:
If your skin is sensitive, skip the lemon juice or dilute it with water.4. Detoxifying Charcoal & Aloe Vera Mask
Best for: Oily or congested skinIngredients:
- 1 teaspoon activated charcoal powder- 1 tablespoon aloe vera gel
- ½ teaspoon rose water (optional)
Why It Works:
Activated charcoal pulls out impurities and excess oil, leaving your skin feeling fresh and clean. Aloe vera soothes irritation, while rose water hydrates and tones.Directions:
1. Mix all ingredients into a smooth paste.2. Apply evenly across your face.
3. Leave it on for 10-15 minutes.
4. Rinse off with cool water.
Bonus Tip:
If your skin is extra oily, add a few drops of tea tree oil for additional antibacterial benefits.5. Exfoliating Coffee & Coconut Oil Mask
Best for: Rough, dull skin that needs a boostIngredients:
- 1 tablespoon coffee grounds- 1 teaspoon coconut oil
- ½ teaspoon honey
Why It Works:
Coffee grounds gently exfoliate dead skin, revealing a fresh, radiant glow. Coconut oil deeply hydrates, while honey nourishes and softens.Directions:
1. Mix all ingredients into a thick paste.2. Gently massage onto your face in circular motions.
3. Leave it on for 10 minutes.
4. Rinse with warm water while continuing to exfoliate.
Bonus Tip:
This mask is also great for exfoliating lips and body!Pro Tips for Applying DIY Face Masks
✔ Always start with clean skin – This ensures your skin absorbs all the goodness.✔ Use a brush or clean fingers – A brush makes application even and less messy.
✔ Don’t leave masks on for too long – 10-20 minutes is usually enough. Leaving it longer won’t necessarily give better results.
✔ Moisturize afterward – Lock in hydration with your favorite moisturizer or facial oil.
✔ Patch test new ingredients – Especially if you have sensitive skin, test a small amount on your wrist first.
Final Thoughts
DIY face masks are a simple, natural, and effective way to give your skin some extra love without breaking the bank. Whether your skin needs hydration, exfoliation, or a deep detox, there’s a homemade remedy for that. Plus, making these masks is a fun and relaxing self-care ritual!Try one of these recipes today, and your skin will thank you. Who needs expensive skincare when you’ve got the magic of Mother Nature right in your pantry?
all images in this post were generated using AI tools
Category:
Skin CareAuthor:

Madeline Howard
Discussion
rate this article
1 comments
Luella Duke
These DIY face masks are a game changer. Simple ingredients and easy steps make it fun to pamper your skin at home. Can't wait to try some of these recipes for a fresh glow!
May 13, 2026 at 2:42 AM
Madeline Howard
I'm so glad you think so! Enjoy trying out the recipes and pampering your skin. Happy DIYing!